How to Change the Page Name On Facebook

How To Change The Page Name On Facebook
Facebook allows Page admins to change a Facebook Page name as long as the name abides by Facebook's guidelines for Page names. Adhere to the actions below to change your Facebook Page name:
1. Visit to your Facebook account.

2. Click on the drop-down menu symbol on the upper-right part of the Page.

3. Click on the Page for which you intend to change the name. If the Facebook Page is not displayed, click on the See More option to watch all the Facebook pages connected with your account.

4. On the target Facebook Page's Web page, click the More icon from the menu bar.

5. Click Edit Page Info.

6. On the General tab, Change the Facebook Page name to the new name you have selected.

7. Click Save Changes.

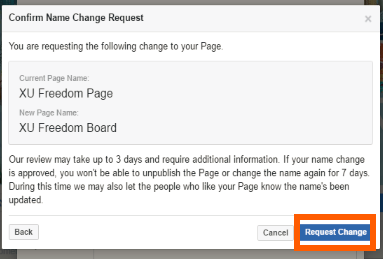
8. A pop-up dialog box will be shown reminding you of your current Facebook Page name as well as the new Page name. Authorization might take up to three days.

9. Click on the Request Change button.
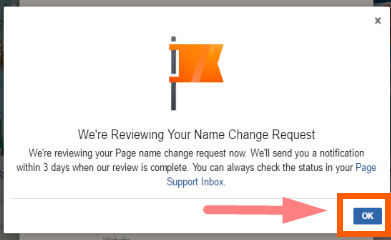
10. One more message will certainly pop-up telling you that Facebook is examining your Facebook name. Click OK.
11. Wait for Facebook to review and also approve your brand-new Facebook Page name. When authorized, your Facebook Page will certainly now have its brand-new name.

I have actually simply revealed you how to change a Facebook Page name. If you have concerns regarding changing your Facebook Page's name, let me understand in the comments section. Your concern might be showcased in the commonly asked questions section.